DIY Home Lab Sensors - Track What Affects Your Performance
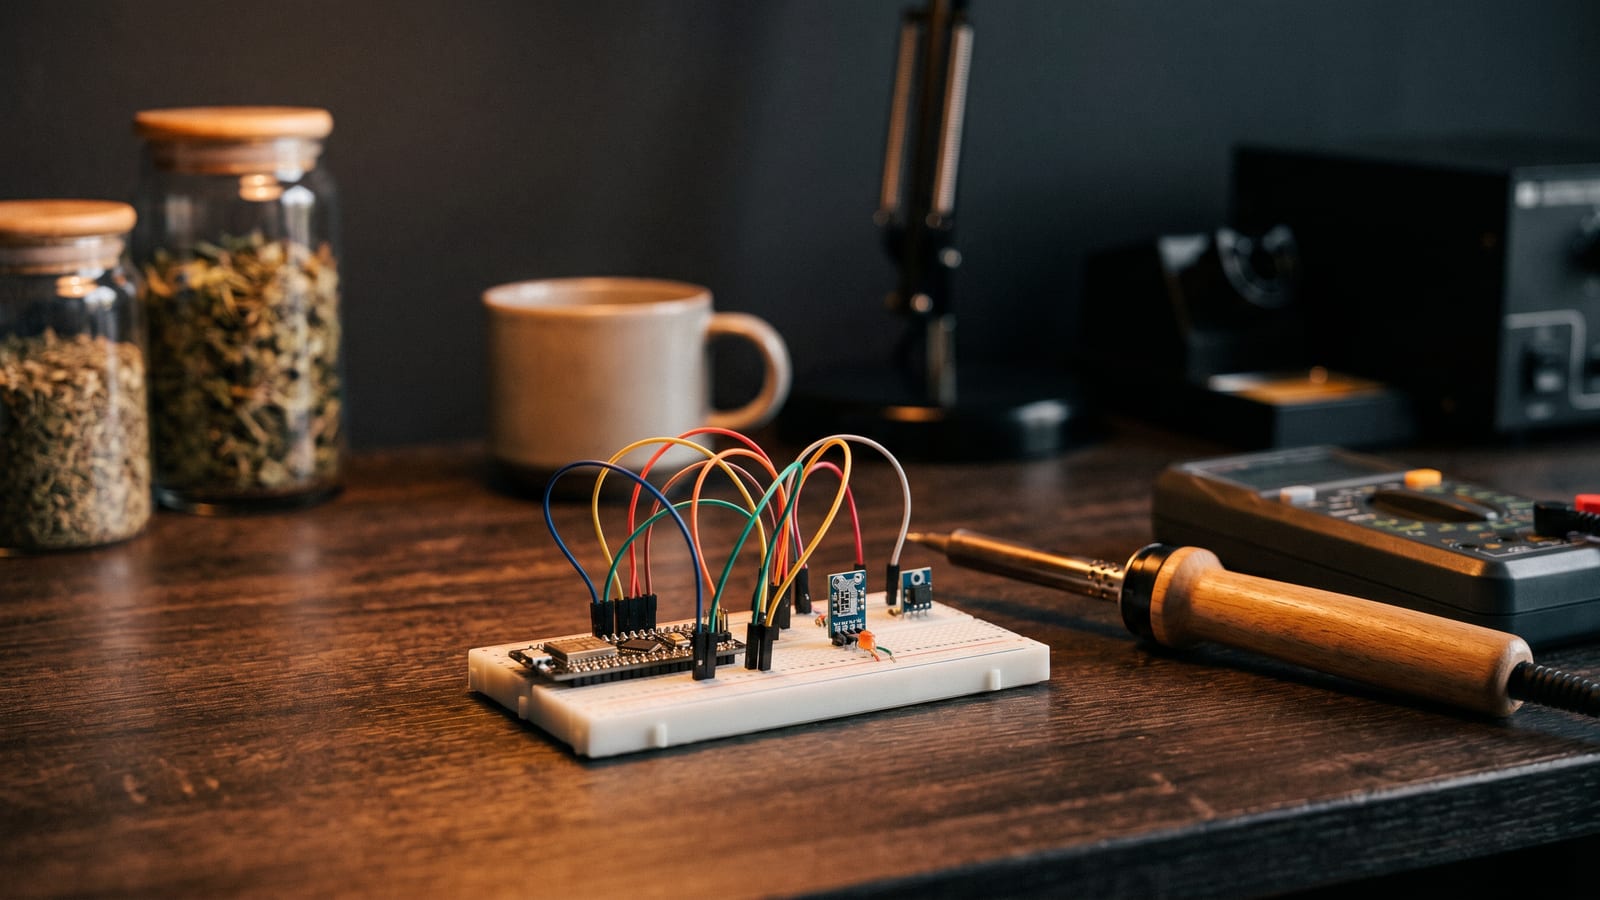
Most biohackers obsess over blood glucose, HRV, and sleep stages while breathing stale air in a 74-degree room. Your environment is doing things to your physiology right now, and you probably have no idea what those things are. DIY home lab sensors fix that.
This guide covers the hardware, wiring, software stack, and alert thresholds you need to build a practical sensor network for biohacking your home environment. No cloud subscriptions, no proprietary apps. You own the data.
What a DIY Home Lab Sensor Actually Measures (And Why It Matters)
Four variables in your immediate environment have direct, measurable effects on performance: CO2, temperature, humidity, and particulate matter (PM2.5). Each has a known mechanism, not just correlation.
CO2 and cognition. Indoor CO2 accumulates when ventilation is poor. A study by Allen et al. at Harvard (2015) found that higher ventilation rates and lower CO2 concentrations improved cognitive function scores across nine domains. Above roughly 1,000 ppm, measurable cognitive decline. Above 2,000 ppm, significant impairment. Most poorly ventilated offices and bedrooms with the door closed hit 1,200 to 1,800 ppm within a few hours. You might attribute the afternoon fog to lunch. It might be your air.
Temperature and sleep. Your core body temperature needs to drop to initiate and sustain slow-wave sleep. A bedroom around 65 degrees Fahrenheit (18 degrees Celsius) supports better slow-wave sleep than warmer rooms. Running your room at 72 degrees is not neutral. It is actively working against your recovery.
Humidity. The range 40 to 60% relative humidity keeps your respiratory mucosa functioning properly, reduces airborne pathogen survival, and prevents the skin dryness that can fragment sleep. Below 35%, your nose and throat notice. Above 65%, mold risk increases and the air feels heavy.
Particulate matter (PM2.5). Particles under 2.5 microns penetrate deep into lung tissue. Outdoor air quality events (wildfire smoke, high pollen) can spike indoor PM2.5 significantly even with closed windows. The EPA Air Quality Index translates particle counts into health categories you can act on.
The principle here is simple: measure before optimizing. If you do not know your CO2 peaks at 1,400 ppm every evening when cooking, you will keep blaming your focus on everything else.
Start with CO2, temperature, and humidity. That is the minimum viable sensor stack for biohacking your home environment.
The Core Sensors - What You Need and What Each Measures
CO2 Sensors: SCD30 vs. MH-Z19
Two sensors dominate the DIY CO2 sensor market. The SCD30 (Sensirion) uses NDIR spectroscopy, measures CO2 directly with accuracy of plus or minus 30 ppm, and costs around $35. It also includes temperature and humidity onboard, though you want a separate sensor for those if accuracy matters. The MH-Z19 is cheaper at $15 to $20 and also uses NDIR, but its calibration drifts more over time. Pay the extra $15 for the SCD30.
Temp and Humidity: BME280 vs. DHT22
The BME280 (Bosch) is the sensor to use. It measures temperature, humidity, and barometric pressure via I2C or SPI, accurate to plus or minus 0.5 degrees Celsius and plus or minus 3% for humidity, and costs around $5 to $10 as a breakout board. The DHT22 is fine for learning, but BME280 is what goes in a permanent build.
Air Quality Sensing (Add Later)
Once you have CO2, temperature, and humidity covered, the next addition is PM2.5. The Grove Laser PM2.5 Sensor (HM3301) is the standard entry point at $20-$40. It speaks UART, so you need a spare GPIO pin. MQ-135 and similar gas sensors detect broad trends in smoke and VOCs but are anomaly detectors, not precision instruments. Adding PM2.5 and gas sensing brings per-node cost to roughly $70-$120.
Choosing Your Hardware Stack
Microcontrollers and Starter Kit
ESP32 ($5-$10) is your wireless sensor node. It runs ESPHome firmware, connects to WiFi, talks I2C natively, and runs on battery. Put one in each room. Raspberry Pi ($35-$75) is your hub: runs Linux, Home Assistant, MQTT broker, or InfluxDB+Grafana. It needs wall power. Use it as the brains of the system, not as a sensor node.
Recommended starter kit: ESP32-WROOM-32 + BME280 + SCD30 for around $50. This gives you CO2, temperature, and humidity from a single node.
Wiring and Placement
Both the BME280 and SCD30 use I2C (four wires: VCC, GND, SDA, SCL). Default addresses are 0x61 for SCD30 and 0x76 for BME280, and both can live on the same I2C bus. On ESP32, default I2C pins are GPIO 21 (SDA) and GPIO 22 (SCL). Keep cable runs under 1 meter for reliable communication at 100 kHz.
Placement matters. Put the sensor at breathing level: desk height for an office, pillow height for a bedroom. Avoid placing sensors directly above heating vents, near windows that open, or in corners where air stagnates. You want a representative reading of the air you actually breathe.
The ESP32 voltage regulator and WiFi radio dump heat into the board. Mount the ESP32 and BME280 on separate boards or use a cable to separate them physically. Even a 5 cm offset reduces self-heating errors measurably. ESPHome also has a temperature offset configuration for software compensation.
Getting Data Into Your System
MQTT is the backbone of a DIY sensor network. Your ESP32 publishes readings to topics like home/bedroom/co2 every 60 seconds. ESPHome has MQTT support built in: configure your broker address and topic structure, and data flows without custom code. Home Assistant (runs on Raspberry Pi, free, local) or InfluxDB+Grafana subscribes to those topics and logs everything.
Scaling Up: More Nodes and Alternatives to Home Assistant
Adding more ESP32 nodes is straightforward. Each needs its own ESP32, sensors, and power source. Use a consistent MQTT topic structure (home/bedroom/co2, home/office/co2) so your hub picks them up automatically. A Raspberry Pi handles 10+ nodes without issue.
If Home Assistant is not your thing: MQTT broker plus a Python script using paho-mqtt handles logging in under 50 lines of code. InfluxDB+Grafana also works independently. The AirGradient DIY kit is a pre-built option with open-source firmware, fine for single or dual-room setups, harder to extend beyond that.
Multi-room data gets useful once you have baselines. You start seeing patterns: bedroom CO2 peaks every night, office stays reasonable when you crack a window. That is where the investment pays off.
Reading the Data: Thresholds and What the Numbers Mean
CO2 levels:
- Below 800 ppm: well-ventilated, cognitively optimal
- 800 to 1,000 ppm: acceptable, some domains start showing minor effects
- 1,000 to 1,500 ppm: reduced cognitive performance, ventilation recommended
- Above 1,500 ppm: significant impairment, leave the room or open windows immediately
Temperature for sleep: A bedroom around 65 to 67 degrees Fahrenheit (18 to 19 degrees Celsius) is optimal for slow-wave sleep. Above 70 degrees F, you are working against your sleep architecture.
Humidity: The 40 to 60% relative humidity range is the target. Below 35% dries out your respiratory mucosa and can fragment sleep. Above 65%, mold risk increases. In heated winter air, low humidity is the more common problem.
PM2.5 (EPA AQI): 0-12 mcg/m3 (Good), 12-35 (Moderate), 35-55 (Unhealthy for sensitive groups), above 55 (Unhealthy for everyone).
How to spot ventilation problems: If your evening CO2 consistently climbs above 1,200 ppm in a room where you spend 2+ hours, that is a ventilation problem. If your bedroom temperature does not drop at least 2 degrees F below your daytime setpoint by 2 AM, that is a thermal environment problem.
Sensor warm-up: The SCD30 needs 10 to 15 minutes after power-on before readings stabilize. Do not trust readings taken immediately after startup or deep sleep.
Common Pitfalls and How to Avoid Them
I2C address conflicts. The BME280 and SCD30 default to different addresses (0x76 and 0x61), so they coexist fine. But if you add a second BME280 or other I2C sensor, check addresses before wiring.
Power delivery problems. USB cables longer than 2 meters can cause voltage drop, especially with long I2C cable runs. The SCD30 draws brief current spikes during measurement that can reset a weak USB source. Use a decent quality USB cable and wall adapter.
Heat interference from the ESP32. The ESP32 voltage regulator and WiFi radio dump heat into the board. Mount the ESP32 and BME280 on separate boards or use a cable to separate them physically. Even a 5 cm offset reduces self-heating errors measurably. ESPHome also has a temperature offset configuration for software compensation.
Treating gas sensor readings as absolute values. The MQ-135 responds to many gases and humidity indiscriminately. Use it to detect anomalies and events, not to measure specific compound concentrations.
Calibration and Data Quality
Fresh-Air Calibration and ABC
CO2 sensors need calibration against a known reference. Outdoor air is approximately 420 ppm CO2. Take your sensor outside for 20 minutes and perform a fresh-air calibration. The SCD30 has a forced recalibration command you can trigger via ESPHome.
Both the SCD30 and MH-Z19 also support ABC (Automatic Baseline Correction), which assumes the lowest reading over a rolling 7-day window represents outdoor air (420 ppm) and adjusts accordingly. ABC works fine if your sensor actually gets exposed to outdoor-level air at least once per week. If it sits in a sealed room permanently, ABC will drift toward wrong.
Drift and False Signals
SCD30 drift over 12 months is typically under 50 ppm without recalibration. MH-Z19 can exceed 100 to 200 ppm in high-humidity environments. Recalibrate at least every 3 to 6 months.
Watch for these patterns: CO2 spikes immediately after cooking are normal ventilation events, not sensor faults. Temperature readings 2 to 5 degrees high usually mean self-heating from the ESP32 voltage regulator sitting too close to the BME280. Offset compensation in ESPHome or physical separation fixes this. Humidity spikes after a shower are expected and not concerning unless they stay elevated for hours.
FAQ
What is the minimum viable setup?
One ESP32 + SCD30. Flash ESPHome, connect to Home Assistant (or any MQTT dashboard), and you have CO2 tracking for around $45. Add a BME280 for temperature and humidity without additional microcontroller changes.
Can I use Raspberry Pi as a sensor node?
No. Raspberry Pi needs wall power and is not battery-friendly. It belongs in the hub role: Home Assistant, MQTT broker, or InfluxDB+Grafana. Use ESP32 for all sensor nodes.
Is DIY worth it versus buying a commercial CO2 monitor?
Depends on your priorities. Aranet4 (around $250) is accurate, well-calibrated, and requires no setup. If you want multi-room coverage, automated alerts, and local data ownership at under $50 per node, DIY wins clearly.
How often do I need to calibrate?
SCD30: fresh-air calibration every 3 to 6 months if ABC is enabled. MH-Z19: every 1 to 3 months given its higher drift rates.